10 Expert Tips for Creating Captivating Real Estate Photos
Are you looking to make your real estate photos stand out from the rest? If so, then look no further. Here are 10 expert tips to help you create captivating real estate photos that will draw potential buyers in.
From the importance of natural lighting to choosing the right props and angles, these expert tips will give you the guidance you need to take stunning real estate photos. Let’s dive in!
1) Understanding the Purpose of Real Estate Photos
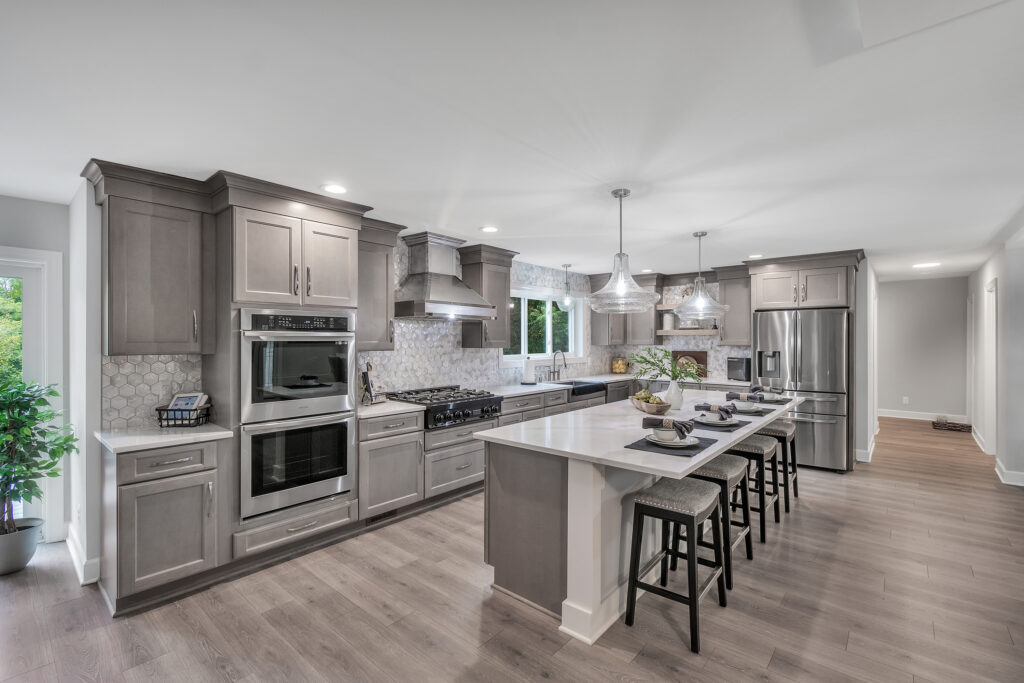
Real estate photos serve a vital purpose in the industry, as they are the first impression potential buyers have of a property.
These photos are essentially a virtual tour of the property, allowing buyers to visualize themselves living there. As a photographer, it’s crucial to understand the purpose behind real estate photos in order to create captivating images.
The main goal of real estate photography is to highlight the unique features and selling points of a property. This requires capturing the essence of the space, portraying its size, layout, and overall atmosphere accurately. The photos should not only showcase the property’s physical attributes but also evoke an emotional response in viewers, making them feel connected and excited about the potential of the property.
To achieve this, photographers must approach each shoot with a strategic mindset. It’s important to consider the target audience and tailor the photos accordingly. For example, if the property is aimed at families, focus on capturing functional spaces, such as a spacious kitchen or a backyard ideal for children. On the other hand, if the property is marketed towards young professionals, emphasize stylish and modern features.
Understanding the purpose of real estate photos allows photographers to effectively communicate the unique selling points of a property to potential buyers. By creating captivating images, photographers can generate more interest in the property, increasing the chances of a successful sale.
2) Investing in Quality Equipment
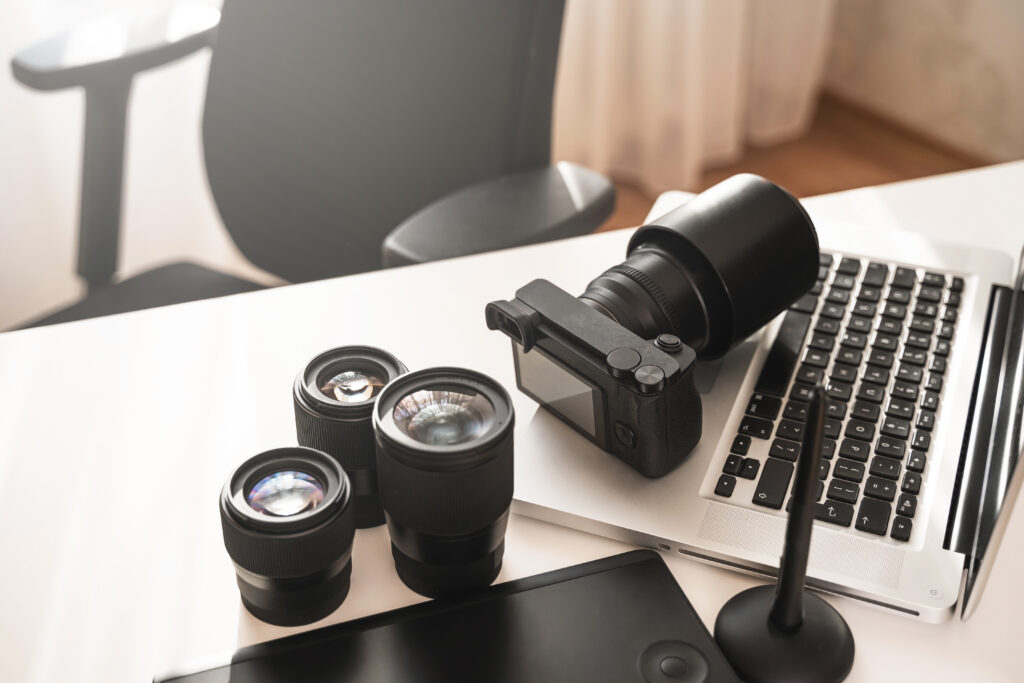
Investing in quality equipment is a crucial aspect of capturing captivating real estate photos.
While skill and technique are important, having the right tools can greatly enhance the quality of your images. High-quality cameras and lenses allow for sharper, more detailed photos, giving potential buyers a better view of the property.
When it comes to cameras, consider investing in a full-frame DSLR or mirrorless camera. These cameras offer superior image quality, better low-light performance, and a wider dynamic range. Additionally, investing in a wide-angle lens can help you capture the full essence of a space, showcasing its size and layout accurately.
In addition to the camera and lens, other essential equipment includes a sturdy tripod and a wide-angle lens hood to minimize lens flare. A tripod helps keep your shots steady and ensures sharp images, especially in low-light conditions. A lens hood can prevent unwanted glare or reflections, giving your photos a professional look.
Don’t forget about the importance of accessories such as memory cards, extra batteries, and external flashes. Memory cards with faster write speeds allow for quicker saving of images, while extra batteries ensure you don’t miss any crucial shots. External flashes can help you balance and control the lighting in different rooms, particularly in spaces with low natural light.
3) Perfecting Composition Techniques
Perfecting composition techniques is a crucial aspect of capturing captivating real estate photos.
The way you frame your shots and arrange the elements within the frame can greatly impact the overall aesthetic appeal and effectiveness of your photos. Here are some composition tips to help you elevate your real estate photography game.
Firstly, make sure to utilize the rule of thirds. Imagine dividing your frame into a 3×3 grid, and try to place key elements of the scene along these lines or at their intersections. This creates a more visually interesting and balanced composition.
Next, pay attention to the lines in the scene. Straight lines, such as walls or countertops, should be horizontal or vertical, unless there is a deliberate creative choice. Avoid diagonal lines that can create a sense of imbalance or unease.
Consider the concept of leading lines as well. These are lines within the scene that naturally draw the viewer’s eye towards a specific point of interest, such as a focal point or a unique feature of the property. Utilizing leading lines can help guide the viewer’s gaze and create a sense of depth in the photo.
Don’t forget to experiment with different perspectives and angles. Try shooting from a lower or higher vantage point to add variety to your photos and showcase different aspects of the property. Additionally, use different lenses to capture wide-angle shots that can emphasize the spaciousness of a room or zoomed-in shots that highlight specific details or features.
Finally, remember to keep the composition clean and clutter-free. Remove any unnecessary objects or distractions from the frame to ensure the viewer’s focus remains on the property itself.
4) Utilizing Proper Lighting
Proper lighting is an essential component of captivating real estate photos.
It has the power to transform a space, enhance its features, and create a warm and inviting atmosphere that draws potential buyers in. Understanding how to effectively utilize lighting can greatly elevate the quality and impact of your real estate photos.
When it comes to lighting, natural light is your best friend. Utilize the available natural light in the property by opening curtains or blinds and strategically positioning yourself to capture the best angles. Natural light brings out the true colors and textures of the space, creating a more authentic and inviting feel.
However, natural light may not always be sufficient, especially in areas with low lighting conditions or during darker times of the day. In these situations, artificial lighting becomes crucial. Use a combination of ambient, task, and accent lighting to create a balanced and well-lit space. Experiment with different light fixtures, such as table lamps or pendant lights, to add depth and dimension to the room.
To avoid harsh shadows or overexposed areas, consider using diffusers or reflectors to soften and redirect the light. These tools can help create a more evenly lit space, allowing for better visibility and detail in your photos.
5) Editing for Maximum Impact

Editing is a crucial step in the process of creating captivating real estate photos.
It allows you to enhance the overall impact and quality of your images, ensuring they stand out from the rest. When done effectively, editing can transform an ordinary photo into a visually stunning masterpiece that captures the attention of potential buyers.
To achieve maximum impact through editing, start by adjusting the exposure and white balance. Properly exposing the photo and correcting any color cast will ensure that the image accurately represents the property. Next, consider enhancing the details and sharpness of the photo to make the features of the property more prominent. Use tools like contrast, clarity, and sharpening to bring out the textures and depth of the space.
Additionally, pay attention to the composition and framing of the photo during the editing process. Crop out any distractions or unnecessary elements that may detract from the overall impact. You can also experiment with different filters or presets to give the photo a unique and stylized look that suits the property.
Lastly, don’t forget about the importance of post-processing techniques like retouching and spot removal. These can help clean up any imperfections or blemishes in the photo, creating a polished and professional final image.
6) Incorporating the Right Angles and Perspectives
When it comes to capturing captivating real estate photos, incorporating the right angles and perspectives is essential. The way you position your camera and choose your shooting angles can make a significant difference in the overall aesthetic and impact of your photos.
To start, consider shooting from a low vantage point. This can help create a sense of grandeur and make the space appear larger and more inviting. By angling your camera upwards, you can capture more of the ceiling and showcase the height of the room.
On the other hand, shooting from a high vantage point can provide a unique perspective and highlight different aspects of the property. This is especially useful for capturing expansive views or showing the layout of the property from above.
Don’t be afraid to experiment with different angles and viewpoints. Move around the room and try shooting from various corners and sides. This can help you find the most flattering angles that accentuate the best features of the space.
Another technique to consider is shooting through doorways or windows to frame the shot and create a sense of depth. This can add visual interest and draw the viewer’s eye towards the main subject.
Remember, incorporating the right angles and perspectives can bring your real estate photos to life. So, be adventurous and explore different shooting positions to capture unique and captivating images that will make potential buyers take notice.
7) Choosing the Right Time of Day to Shoot
When it comes to capturing captivating real estate photos, choosing the right time of day to shoot is crucial.
The lighting conditions at different times of the day can greatly impact the overall look and feel of your photos. As a photographer, you want to ensure that the property looks its best in your images, so timing is everything.
One of the best times to shoot real estate photos is during the golden hour, which occurs shortly after sunrise or before sunset. During this time, the sunlight is soft and golden, creating a warm and inviting atmosphere. The long shadows can also add depth and dimension to your photos, highlighting the architectural features of the property.
If shooting during the golden hour isn’t possible, another optimal time is on an overcast day. Cloud cover acts as a natural diffuser, softening the light and reducing harsh shadows. This can help create a more evenly lit space, making it easier to capture the details and textures of the property.
On the other hand, it’s generally best to avoid shooting in the middle of the day when the sun is directly overhead. This can create harsh shadows and wash out the colors of the property. If shooting during this time is unavoidable, try to find areas of shade or use a diffuser to soften the light.
8) Highlighting Unique Features of the Property
When it comes to captivating real estate photos, one of the key aspects is highlighting the unique features of the property.
These features are what set the property apart from others on the market and can make a potential buyer fall in love with the space. As a photographer, it’s important to identify these unique features and showcase them in your photos.
Start by conducting a thorough walkthrough of the property before the shoot. Take note of any standout features such as a stunning fireplace, a luxurious master bathroom, or a beautiful backyard oasis. These are the features that potential buyers will be drawn to and will want to see in detail.
Once you’ve identified the unique features, make them the focal point of your photos. Use composition techniques to draw attention to these areas, such as leading lines or framing through doorways or windows. Additionally, experiment with different angles and perspectives to capture the best view of these features.
Lighting also plays a crucial role in highlighting unique features. Use natural or artificial light to create shadows and highlights that enhance the depth and texture of the feature. This can make it more visually appealing and create a sense of luxury or functionality.
Ultimately, the goal is to make potential buyers imagine themselves living in the property and utilizing these unique features. By effectively highlighting them in your photos, you can create a strong emotional connection and generate more interest in the property.
9) Preparing the Property Prior to the Shoot
Before you start snapping away, it’s essential to prepare the property for the shoot to ensure that you capture captivating real estate photos. Preparing the property will not only help showcase its true potential but also save you time during the shoot.
Here are some tips to help you get the property ready:
- Clean and Declutter: Make sure the property is clean and free of clutter. Remove any personal items, excess furniture, or unnecessary decorations that might distract from the main focus. A clean and clutter-free space will allow potential buyers to visualize themselves in the property.
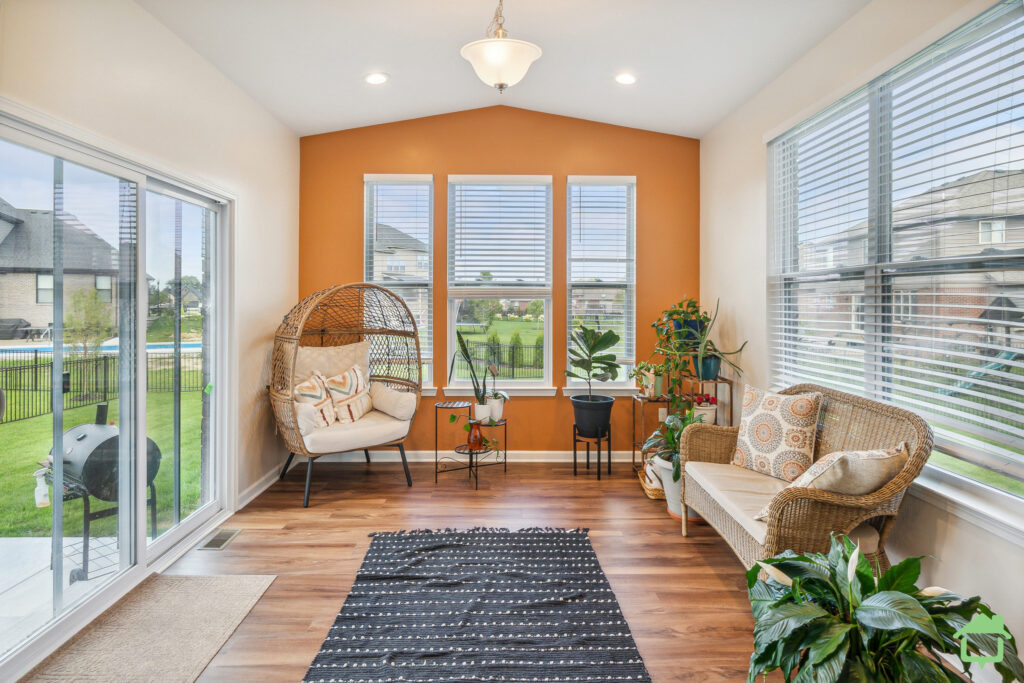
- Stage the Space: Staging the space can help create a welcoming and inviting atmosphere. Add tasteful decorations, such as fresh flowers, throw pillows, or artwork, to enhance the visual appeal. Keep in mind the target audience and choose decor that will resonate with them.
- Arrange Furniture: Properly arrange the furniture to create an open and spacious feel. Consider the flow of the space and arrange the furniture in a way that maximizes the room’s potential. Don’t be afraid to rearrange furniture to highlight the best features of each room.
- Clean and Organize Outdoor Areas: If the property has outdoor spaces, such as a backyard or patio, make sure they are well-maintained. Clean up any debris, mow the lawn, and trim any overgrown plants. Add outdoor furniture or accessories to showcase the potential for outdoor living.
10) Staging Tips to Enhance the Shot

To truly capture captivating real estate photos, it’s crucial to consider the art of staging. Staging the property before a shoot can significantly enhance the overall visual appeal and help potential buyers envision themselves living in the space.
Here are some expert staging tips to take your real estate photos to the next level:
- Create a Welcoming Entrance: Start by creating an inviting entrance to the property. Clear any clutter, add a welcome mat, and consider placing potted plants or flowers near the door. This will create a positive first impression and set the tone for the rest of the shoot.
- Use Props and Accessories: Carefully select props and accessories that complement the style and feel of the property. Consider adding elements like decorative pillows, fresh flowers, or tasteful artwork. These small details can make a big impact and add a touch of warmth and personality to the space.
- Arrange Furniture for Flow: Pay attention to the flow of the space and arrange furniture to maximize its potential. Create clear pathways and arrange seating areas to showcase the functionality and comfort of each room. This will help potential buyers visualize how they would use the space.
- Emphasize Functionality: Highlight the functionality of the property by showcasing the purpose of each room. For example, stage a home office with a desk, chair, and a few essential office supplies. This will help potential buyers see the practicality and versatility of the space.
Remember, staging is an art form that requires careful consideration of the property and its target audience. By following these staging tips, you can enhance the overall aesthetic appeal and create captivating real estate photos that will grab the attention of potential buyers.
Ready to sell your property? Give us a call today and learn more about our professional photography services and marketing that can boost your property listing!
Plus, explore our virtual assistant coaching program to level up your business. Don’t forget to tune into our new podcast for even more valuable insights!