Stay on Top of Your Real Estate Shots with the Right Tripod
In the fast-paced world of real estate, staying on top of your game is crucial for success. This includes ensuring that your property shots are top-notch and stand out among the competition. But with shaky hands or unstable surfaces, it can be challenging to capture the perfect shot. That’s where a reliable tripod comes in. A tripod can provide the stability and precision needed to capture stunning real estate shots that will impress potential buyers. In this blog post, we’ll discuss the importance of choosing the right tripod for steady real estate shots and how it can help you stay on top in the competitive real estate market!
What to Look for in a Real Estate Tripod: Key Features and Considerations

When choosing a tripod for real estate photography, there are several key features and considerations to keep in mind.
First and foremost, stability is essential. Look for a tripod with sturdy legs and a solid construction to ensure it can handle the weight of your camera and lens without wobbling or shaking.
Height adjustability is another important factor. You’ll want a tripod that can be easily adjusted to various heights to capture different angles and perspectives of the property. A tripod with a center column that can be extended or collapsed will provide this flexibility.
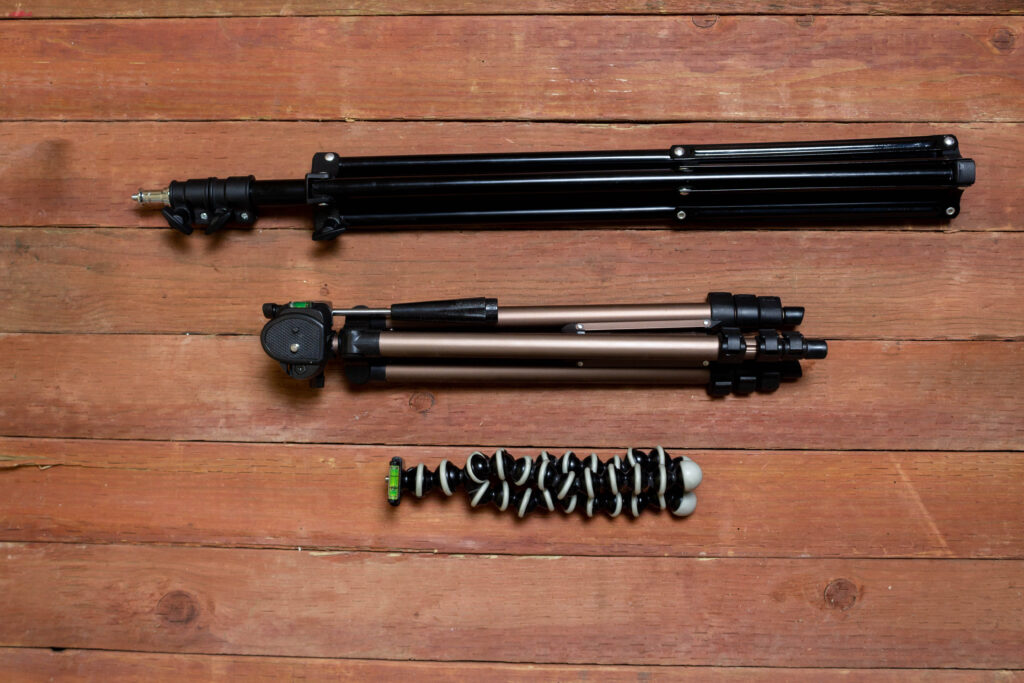
Weight and portability are also worth considering. Real estate photographers often need to move quickly and carry their gear from one location to another. Look for a tripod that is lightweight and easy to transport, without sacrificing stability.
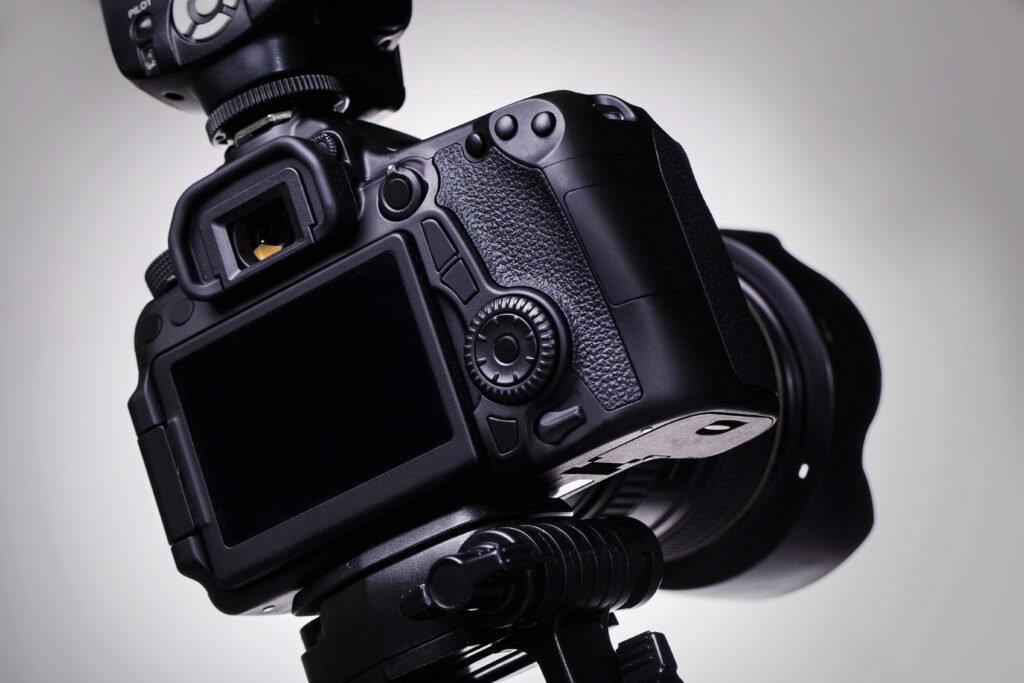
Finally, consider the tripod’s compatibility with your camera equipment. Ensure it has a sturdy mounting plate and can support the weight of your camera and lens. Some tripods also offer additional features like built-in levels or bubble indicators to help you ensure your shots are perfectly level.
By taking these key features and considerations into account, you’ll be well-equipped to choose the right tripod for steady real estate shots that will impress potential buyers.
Reviews and Comparisons: Top Tripods for Real Estate Photography
If you’re in the market for a reliable tripod to elevate your real estate photography game, you’re in luck. We’ve done the research and put together a list of the top tripods for capturing steady real estate shots.
- Manfrotto MT055XPRO3: This tripod is a favorite among professionals for its excellent stability and versatility. With a maximum height of 67 inches, it allows you to capture stunning shots from various angles and perspectives. It also features a 90-degree center column, perfect for shooting overhead shots or capturing low-angle shots.
- Vanguard Alta Pro 263AB: This tripod offers a unique feature called the Multi-Angle Central Column, which allows you to position your camera at any angle you desire. It also has sturdy legs and a maximum height of 70 inches, making it perfect for capturing tall buildings or expansive landscapes.
- MeFOTO Globetrotter: If you’re looking for a tripod that combines portability with stability, the MeFOTO Globetrotter is a great choice. It is compact and lightweight, making it easy to carry around during your real estate shoots. Despite its small size, it can handle heavy camera equipment and offers a maximum height of 64.2 inches.
- Benro A373T: This tripod is known for its robust construction and durability. It features three-section legs with twist locks for quick and easy setup. With a maximum height of 64.4 inches, it allows you to capture elevated shots while maintaining stability.
These top tripods are all excellent options for real estate photography. Consider your specific needs and preferences to choose the one that will best enhance your real estate shots.
Tips and Tricks for Using a Tripod Effectively in Real Estate Shots
Using a tripod effectively can greatly enhance your real estate shots and help you capture stunning images that will impress potential buyers.
Here are some tips and tricks to get the most out of your tripod:
- Use a remote shutter release or timer: To eliminate any potential camera shake, use a remote shutter release or the built-in timer on your camera. This will ensure that you don’t accidentally bump the camera when pressing the shutter button.
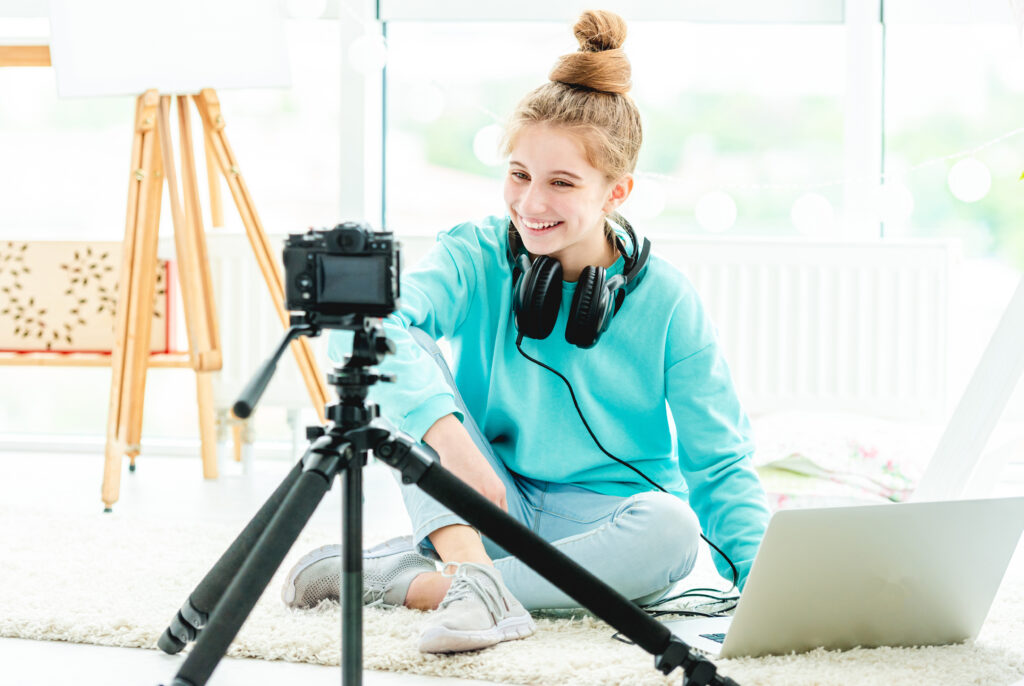
- Adjust the tripod height and angles: Experiment with different tripod heights and angles to capture unique perspectives of the property. Try shooting from lower angles to make rooms appear more spacious, or use a higher angle to showcase the surrounding landscape.
- Level the tripod: Use the built-in levels or bubble indicators on your tripod to ensure that it is perfectly level. This will help prevent any distortion or uneven lines in your photos.
- Consider using a tripod head: Depending on your shooting style, you may benefit from using a tripod head. A ball head offers quick and easy adjustments, while a pan-tilt head allows for precise control over camera movement.
- Don’t forget to lock the tripod: Always double-check that the tripod legs and head are securely locked before taking your shot. This will prevent any unwanted movement or wobbling during exposure.
By following these tips and tricks, you’ll be able to use your tripod effectively and capture steady real estate shots that showcase the property in the best possible light.
Common Tripod Mistakes to Avoid in Real Estate Photography
When it comes to real estate photography, using a tripod can make a huge difference in the quality of your shots.
However, there are some common mistakes that photographers often make when using tripods. One of the biggest mistakes is not properly securing the tripod. This can result in shaky shots and blurry images. Always make sure to lock the tripod legs and head tightly before taking your shot.
Another common mistake is using the wrong tripod height. Choosing the right height is crucial for capturing the best angles and perspectives of the property. Avoid using a tripod that is too low, as it can make rooms appear cramped. On the other hand, using a tripod that is too high can distort the proportions of the space.
Lastly, failing to level the tripod can lead to crooked or uneven shots. Most tripods come with built-in levels or bubble indicators to help you ensure that the camera is perfectly level. Take the time to adjust the tripod until it is perfectly straight before taking your shot.
By avoiding these common tripod mistakes, you’ll be able to capture steady real estate shots that showcase the property in the best possible light. Happy shooting!
Ready to sell your property? Give us a call today and learn more about our professional photography services and marketing that can boost your property listing!
Plus, explore our virtual assistant coaching program to level up your business. Don’t forget to tune into our new podcast for even more valuable insights!