How to Get the Best Views from Your Windows without Blowing Out the Highlights
Ever found yourself staring out of a window, mesmerized by the stunning view, only to capture a photo that’s a washed-out mess? You’re not alone. We’ve all been there, trying to snap that perfect shot, only to end up with blown-out highlights and a whole lot of frustration. But don’t worry, my friend, because we’re about to dive into the magical world of window photography, where capturing the best views without the bright spots is totally possible.
You see, taking great photos through windows is all about understanding and managing light. As George Eastman, the brain behind the Eastman Kodak Company, once said, “Light makes photography. Embrace it. Admire it. Love it. But above all, know light. Know it for all you are worth, and you will know the key to photography.”. He wasn’t kidding—knowing how to work with light can make or break your photos.
So, let’s get down to the nitty-gritty. Whether you’re a pro or just love taking gorgeous snaps of your view, we’re going to cover some super handy tips and techniques to help you nail it every time. From balancing light to prevent those dreaded blown highlights to using HDR and exposure blending, we’ve got the goods to make your window shots shine (in the right way).
Ready to up your window photography game? Let’s get started!
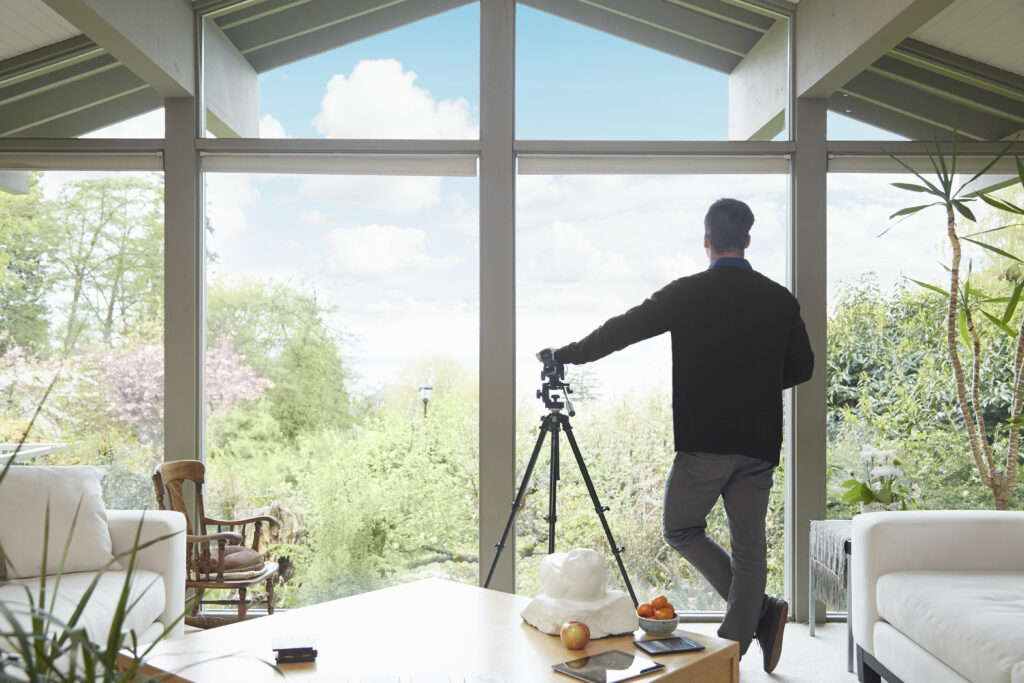
Capturing Stunning Window Views

Capturing the best views from your windows can feel like trying to tame a wild beast.
You want that outside scene to look fabulous without turning your living room into a cave. The main trick is to balance the light, especially when the outdoors is brighter than inside. Picture this: the window acts like a giant spotlight, and it’s your job to manage that light show.
One nifty way to avoid those dreaded blown highlights is to tweak your camera settings. Dial down the exposure a notch so the outside view isn’t overexposed. If your camera has it, use the histogram to check for any spikes on the right side, which indicate overexposure. Keeping those highlights in check is your ticket to capturing the outdoor beauty while still giving your indoor space some love.
Also, play around with the angle of your shots. Sometimes just shifting your position a bit can make a huge difference. Shooting slightly from the side can help balance the light and reduce glare.
Another trick? Use curtains or blinds to control the amount of light coming in. It’s like having your very own light dimmer for the room. Open them just enough to let the view in without washing out your photo.
With these tricks up your sleeve, you’ll be snapping window views that make everyone go, “Wow!”
Understanding HDR Techniques

HDR photography can totally transform your window shots.
If you’ve ever felt like your photos just don’t do justice to that awesome view, HDR is about to become your new best friend. It’s like magic for your camera! So, what’s the deal with HDR?
It’s all about capturing multiple shots at different exposures and blending them together. Picture this: one shot might catch all the bright spots, another nails the darker areas, and the third hits the sweet spot in the middle. When you combine these, you get a photo with a range of light and detail that looks more like what your eyes see.
Using HDR, especially for window views, means you get to keep those bright highlights from going haywire while still showing off the shadows. Think of it as having the best of both worlds. And the best part? You don’t need to be a tech wizard to do it. Most modern cameras and even some smartphones have HDR settings. Just switch it on, snap a few shots, and let your camera do the heavy lifting.
If you want to get a bit fancy, you can manually adjust the exposures and blend them yourself using editing software. It takes a little more time but gives you total control over the final image. So, grab your camera and start experimenting with HDR—you’ll be amazed at how stunning your window views can look!
Step-by-Step Guide to Exposure Blending
Let’s dive into the fun world of exposure blending! Think of it as creating a photo smoothie where you mix different “flavors” of light and shadow to get that perfect shot.
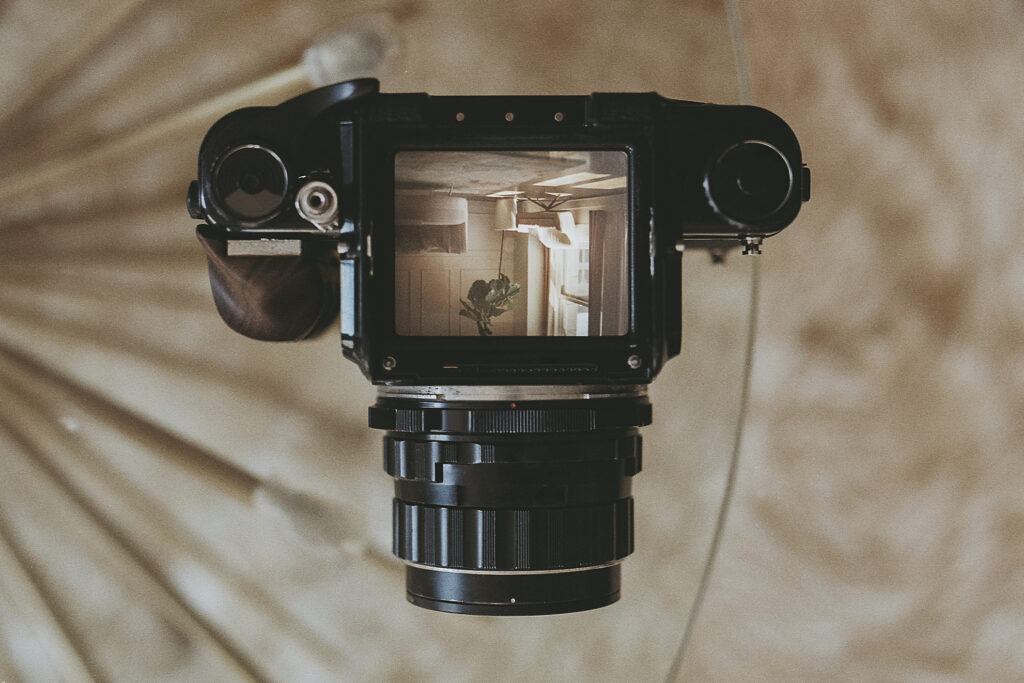
- Step 1: Tripod time! Set your camera on a tripod to keep things steady. You don’t want any shaky business messing up your blend.
- Step 2: Snap multiple shots of the same scene at different exposures. Take one that’s underexposed, one properly exposed, and one overexposed. It’s like taking three different slices of the same delicious pie.
- Step 3: Fire up your favorite photo editing software. We’re talking Photoshop, Lightroom, or any other editing tool you fancy.
- Step 4: Layer those shots together in your editing software. Imagine you’re making a digital sandwich with your photos.
- Step 5: Here comes the fun part: blending! Use masks to combine the best bits of each exposure. Enhance the bright parts without losing the shadows. It’s like a photo magic trick.
There you go! With a bit of practice, you’ll be blending exposures like a pro and capturing views that are drop-dead gorgeous. Just remember to keep experimenting and have fun with it!
Essential Equipment for Window Photography
If you want to snap those stunning window views, having the right equipment is a game-changer.
First off, get yourself a good camera with manual settings. Trust me, you’ll want that control over exposure and focus to nail those shots. Mirrorless or DSLR cameras are top picks, but don’t stress if you don’t have one—some high-end smartphones can do the trick too.
Next up, lenses. A lens with a wide aperture (like f/1.8 or f/2.8) is your new BFF. It helps you capture more light and detail, making those views pop. And let’s not forget the tripod! This trusty sidekick keeps your camera steady, especially when you’re diving into HDR or exposure blending. Shaky hands and crisp shots? Not a match made in heaven.
Filters can be super handy too. A polarizing filter will cut down on those annoying reflections and boost colors, while a neutral density filter can help you manage light levels, especially when it’s super bright outside. Think of them as your camera’s sunglasses—cool and functional.
So, grab your camera, slap on that lens, set up your tripod, and maybe throw on a filter. With this gear in your toolkit, you’re all set to capture those gorgeous window views without any hiccups. Happy shooting!
Editing Software and Tools

Editing your photos can turn a good shot into a jaw-dropper, and luckily, we’ve got some nifty tools to help out.
Adobe Lightroom and Photoshop are like the superheroes of the editing world. They’ve got all the bells and whistles you need to blend exposures and make those views pop.
But hey, if you’re balling on a budget, no worries! GIMP is a freebie that packs a punch, and Snapseed on your phone can work wonders in a pinch.
When you’re editing, think of it like giving your photo a spa day. Adjust the highlights to tame those bright spots and bring out the shadows to add depth. Play around with the colors to make them vibrant but keep them looking natural—nobody wants a neon green lawn unless it’s in a sci-fi movie.
Clarity and contrast are your buddies here too. They help define the details and make your image crisp. Just don’t go overboard, or your photo might end up looking like it’s been through a filter factory.
So grab your digital toolbox and start tweaking. Whether you’re going pro with Photoshop or keeping it simple with Snapseed, you’ll be turning those window views into masterpieces in no time!
Practical Tips for Shooting Through Windows

Now, let’s get down to some cool tricks for snapping killer shots through your windows.
First up, timing! Aim for those sweet golden hours—just after sunrise or right before sunset. The light is soft, and you won’t end up with harsh shadows or blown highlights that make your pics look like a hot mess.
Next, reflections are the enemy. Want to avoid those pesky glare spots? Turn off any indoor lights and shoot at an angle. If you’re still getting reflections, use a lens hood or even a piece of dark fabric to block out the extra light.
And don’t forget about cleaning those windows! A little Windex can go a long way in making sure your view is crystal clear.
Finally, experiment with different angles and heights. Sometimes, a slight tilt or a lower angle can completely transform your shot. So, play around and see what works best for you.
With these tricks in your back pocket, you’ll be snapping some seriously awesome window views in no time.
Selling a property? Give us a call today and learn more about our professional photography services that can boost your property listing!
Also, explore our sister company for exclusive luxury listings you won’t want to miss. Don’t forget to tune into our new podcast for even more valuable insights!