Mistakes to Avoid When Taking Photos for Real Estate Listings
Taking photos for real estate listings is no easy task, and there are several mistakes to avoid if you want to ensure your photos look professional and capture the true essence of the home. Knowing what to do and what not to do is key to creating stunning visuals that accurately reflect the property and help it stand out from the competition.
In this blog post, we’ll be exploring the dos and don’ts of real estate photography, so you can avoid common mistakes and create pictures that make your listings shine.
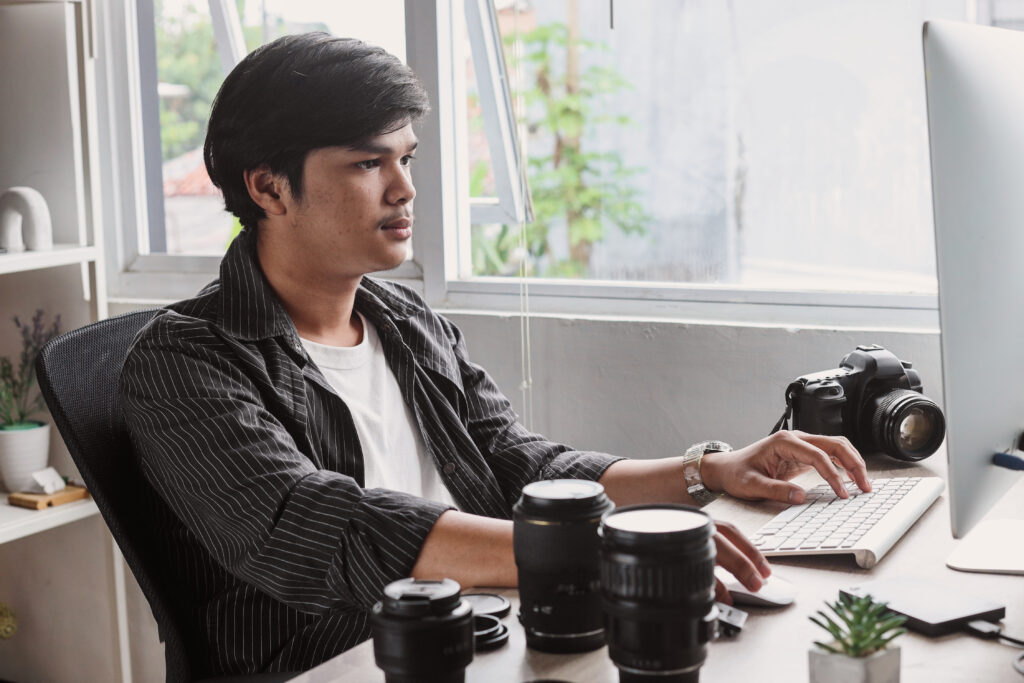
Not Hiring a Professional Photographer

One of the biggest mistakes you can make when it comes to real estate photography is not hiring a professional photographer.
While it may seem tempting to try and save money by taking the photos yourself, the truth is that the quality of your images will directly impact the success of your listing.
Professional photographers are trained to capture a property’s best angles, use high-quality equipment, and have the skills to make even the most mundane spaces look stunning. They know how to use lighting, composition, and editing techniques to highlight the unique features of your property and make it stand out to potential buyers.
Additionally, hiring a professional photographer also saves you time and hassle. You won’t have to worry about finding the right equipment, setting up shots, or editing the images. Instead, you can focus on other important aspects of selling your property and trust that your photographer will deliver exceptional results.
Overall, the benefits of hiring a professional photographer for your real estate listing far outweigh any perceived cost savings of doing it yourself. So, if you want to ensure your property stands out in a crowded market, consider hiring a professional photographer to help you showcase it in the best possible light.
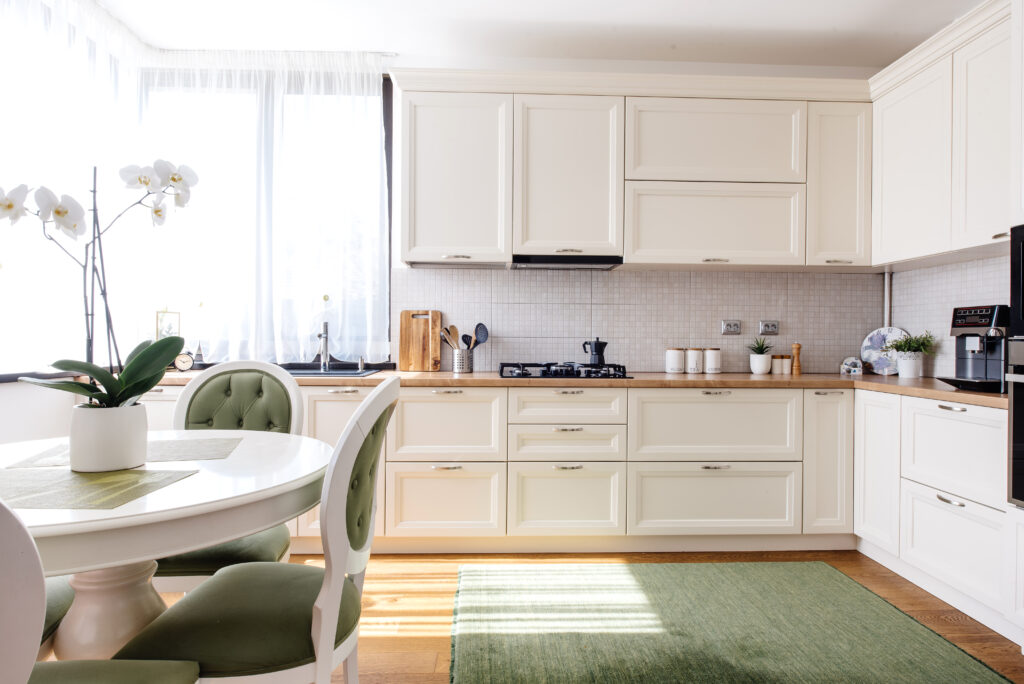
Not Preparing the Property

One of the most common mistakes in real estate photography is not preparing the property before the photo shoot.
Whether you are photographing a home or a commercial property, it is essential to ensure that the space is clean, decluttered and staged appropriately. A well-prepared property not only looks more attractive in photos but can also help potential buyers or renters envision themselves living or working in the space.
To prepare the property, start by removing all clutter and personal items, such as family photos, pet toys, and other personal effects. Clear all countertops and surfaces, and put away any unnecessary furniture or decor. Consider hiring a professional stager to create an inviting, welcoming atmosphere that highlights the best features of the property.
Also, make sure that all lights are on and any light fixtures or bulbs that are not working are replaced before the photo shoot. You want to create a bright, well-lit space that feels warm and welcoming. Open curtains and blinds to bring in natural light, and turn off overhead fans to avoid shadows in your shots.
Remember that real estate photography is meant to showcase the property and encourage potential buyers or tenants to book a viewing. Preparing the property before the photo shoot can help you showcase its full potential and attract more clients.
Not Utilizing Natural Lighting
When taking photos of a property, lighting plays a crucial role in showcasing the best features of the space. However, some real estate photographers make the mistake of relying too much on artificial lighting and not utilizing natural lighting to its full potential.
Natural lighting is best for real estate photography since it highlights the space’s beauty and brightness. Natural lighting may highlight the property’s particular qualities and create a warm, inviting ambiance.
To maximize natural lighting, arrange your photo shoot around the best time of day. This usually happens during the golden hours, the first and last hours of the day. During these times, the light is softer and warmer, creating a beautiful ambiance.
Additionally, you can use reflective surfaces to bounce natural light into dark corners or areas of the property that may be shadowed. You can also use sheer curtains or blinds to soften harsh natural light and diffuse it throughout the room.
Avoid taking photos of a property during cloudy or rainy days, as these can create dull and uninviting photos. If you do have to take photos during overcast days, try to brighten up the space by using artificial lighting or editing the photos afterwards.
By utilizing natural lighting, you can create visually appealing photos that can make a significant difference in attracting potential buyers. Always make sure to take advantage of natural light to highlight the best features of the property and showcase it in the most inviting way possible.
Not Staging the Property
When taking photos for a real estate listing, it’s important to showcase the property in its best light.
And one way to do that is by staging the property. However, many real estate agents and homeowners fail to stage the property, resulting in dull and unappealing photos.
Staging involves arranging furniture, decor, and other items in a way that highlights the best features of the property. This can help potential buyers imagine themselves living in the space, making it more appealing to them. When staging a property, it’s important to keep in mind the target demographic, as different styles and decor choices may be more appealing to certain groups.
Staging techniques include decluttering, eliminating personal objects, and adding plants, rugs, or artwork. It’s crucial not to overstage because a cluttered room can be as unpleasant as an empty one.
Not arranging a house can deter buyers because images won’t show its full potential. To ensure that your photos showcase the house’s best features, stage the property or employ a professional stager.
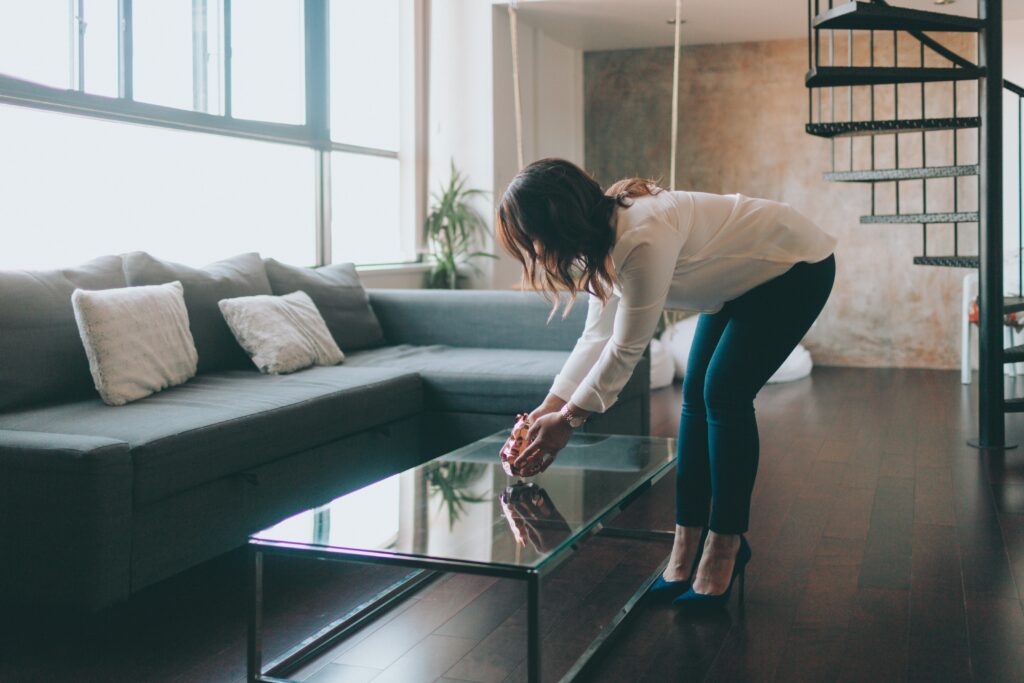
Not Editing the Photos
Once you have taken all your photos, it’s time to edit them. Skipping this crucial step can be a costly mistake. Even professional photographers always edit their work to ensure that the images look their best.
Here are some things to keep in mind when editing real estate photos:
- Adjust the brightness, contrast, and color levels to make the images look more polished and professional.
- Remove any distracting elements that may take away from the property’s features. This includes things like clutter or personal items left behind by the previous owners.
- Straighten out any crooked lines or angles, so the image looks level and balanced.
- Overdo the editing, which can make the property look too unrealistic. For example, making the grass unnaturally green or the sky too blue can make the images look fake.
- Forget to keep the images consistent. Make sure the editing is uniform throughout all the photos, so they look cohesive when viewed together.
- Use heavy filters or excessive photo manipulation techniques. You want the images to represent the property accurately and not look like they belong in a magazine advertisement.
In overview, editing is an essential step in creating high-quality real estate photos. It allows you to adjust and improve the images, making them more appealing to potential buyers. However, it’s important not to overdo the editing and maintain the images’ authenticity while still making them look their best.
Ready to sell your property? Give us a call today and learn more about our professional photography services and marketing that can boost your property listing!
Plus, explore our virtual assistant coaching program to level up your business. Don’t forget to tune into our new podcast for even more valuable insights!