Picture Perfect: Tips to Speed Up Your Real Estate Photography Workflow
Let’s dive right into speeding up your real estate photography workflow without losing that killer quality we all strive for. Imagine this: less time fiddling with your gear and more time sipping that well-deserved coffee. We’re talking about transforming your chaotic photo sessions into smooth and speed up operations. Sounds good, right?
First off, it’s all about preparation. Seriously, don’t underestimate the power of a good old-fashioned checklist. Make sure everything’s ready to go before you hit the road—camera, lenses, tripod, memory cards, batteries, and whatever else you need. You don’t want to be that person running back to the car because you forgot something crucial.
Now, when it comes to shooting, knowing your gear inside out is a game-changer. Spend some time getting cozy with your camera settings. Try out different lighting conditions so you’re not thrown off by a gloomy day or a room with no natural light. Having preset modes for different scenarios will save you tons of time.
Let’s not forget about the power of technology. There are so many awesome tools and apps designed to make your life easier. Use them! From drone shots to remote camera controls, these gadgets can seriously cut down your shoot time. Plus, they make you look like a total pro.
And hey, don’t skimp on location scouting. Visit the site beforehand to scope out the best angles and lighting. This means less wandering around like a lost tourist and more snapping those perfect shots right away. With all these tricks up your sleeve, you’ll be zipping through your shoots and still have time to enjoy the finer things in life. Cheers to that!
Getting Your Gear in Order

Before you head out, you don’t want to find yourself halfway to your shoot only to realize you left a crucial piece of equipment behind.
That’s why a good ol’ checklist is your best buddy here. Seriously, treat it like your Holy Grail. Make sure you’ve got everything: camera, lenses, tripod, memory cards, batteries, and maybe even a snack because who knows how long you’ll be out there.
Once you’ve double-checked your list, make sure your gear is easy to access. No one wants to be that person frantically digging through a messy bag for a lens cap or spare battery. Consider using compartmentalized bags or cases to keep everything organized. Think of it like Marie Kondo-ing your camera bag—everything should spark joy and be easy to find.
Speaking of batteries, always carry extras. And memory cards? Bring a few more than you think you’ll need. Nothing kills the vibe faster than running out of storage in the middle of a shoot. Also, make sure your lenses are clean before you leave. A little smudge can turn your perfect shot into a blurry mess, and trust me, nobody has time for that.
If you’ve got any fancy gear like a drone or remote controls, pack those too. You never know when you might need an aerial shot to wow your client. Oh, and one more thing—always check your gear the night before. You’ll thank yourself when you’re not rushing around in the morning like a headless chicken.
So, pack smart, keep things tidy, and make that checklist your new BFF. Your future self will be grateful when your shoots go off without a hitch!
Nailing the Camera Settings
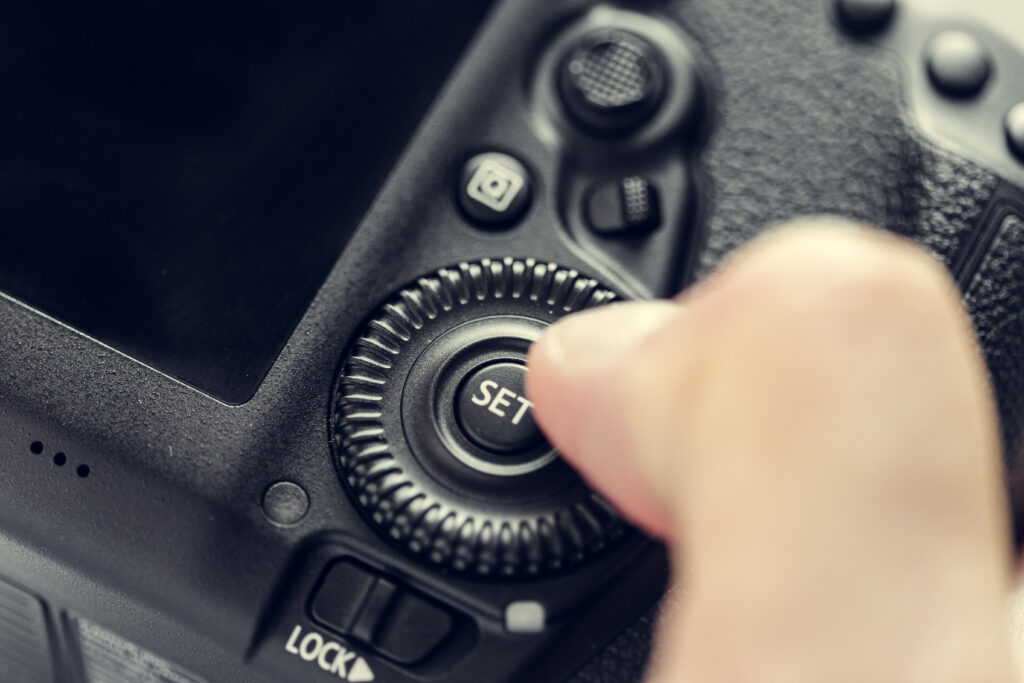
Let’s get into the nitty-gritty of camera settings.
First thing’s first: get cozy with your camera. I mean, really know it like the back of your hand. You don’t want to be fumbling around like it’s your first day on the job when you’re in front of a client.
When it comes to lighting, practice makes perfect. Spend some time messing around with different settings in various lighting conditions. Indoor, outdoor, sunny, cloudy—get a feel for how your camera behaves in each scenario. Trust me, once you’ve got that down, it’s a game-changer.
Pro tip: set up some presets for your most common scenarios. This little hack will save you a ton of time. Imagine not having to tweak your settings for every single shot. Just switch to the right preset and boom—you’re good to go.
And don’t forget about the histogram. It’s that fancy graph that shows up on your screen. Learn to read it. It’s like having a crystal ball that tells you if your exposure is spot on or if you’re about to blow out those highlights.
Also, keep an eye on your ISO. Cranking it up can be tempting, especially in low light, but it can also introduce noise. Try to find a balance—use just enough to get a clear shot without making it look like a grainy old movie.
Finally, experiment with white balance settings. Different light sources can make your photos look too warm or too cool. Adjusting the white balance ensures your photos look natural and true to life.
So there you have it! Get those settings dialed in, and you’ll be breezing through shoots like a pro.
Making Post-Processing a Breeze
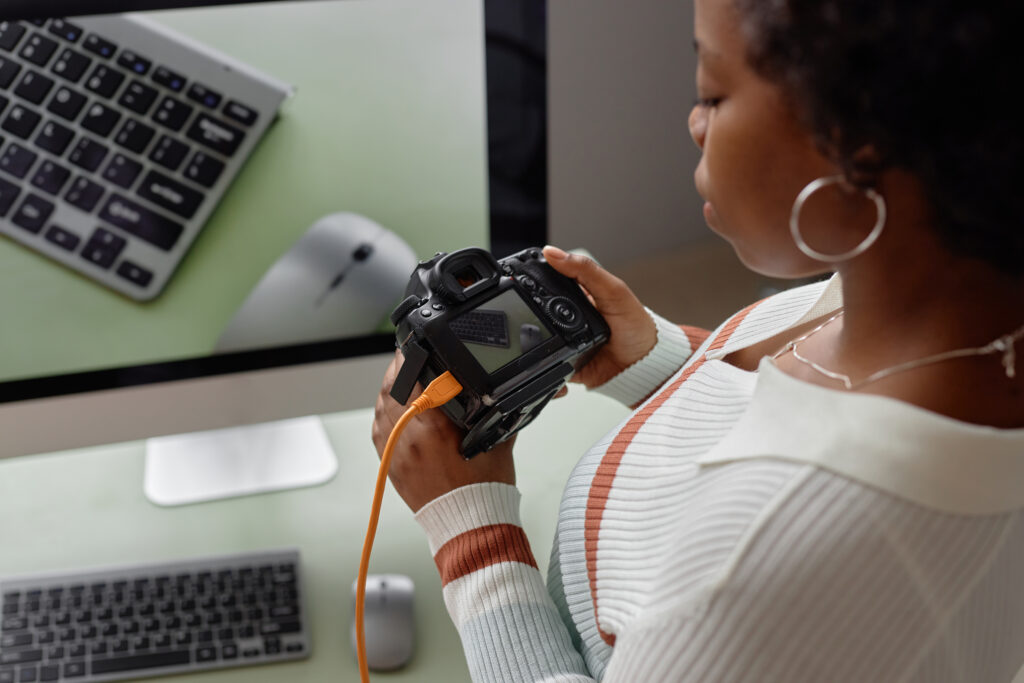
Let’s talk about the part that can either make you want to throw your computer out the window or do a happy dance—post-processing.
Trust me, it doesn’t have to be a drag. First things first, embrace batch processing. Imagine editing one photo and then applying those tweaks to a whole set with just a click. Magic, right? It saves you tons of time and keeps everything looking consistent.
Speaking of consistency, create some templates or presets for your edits. Whether it’s a specific way you like your colors to pop or how you want shadows to look, having these ready-to-go templates means less fiddling around. Plus, it gives your photos that uniform, professional vibe.
Now, let’s chat about automation. Think of it like having a little robot assistant doing the boring stuff for you. Got a hundred photos that need resizing? Automate it. Need to watermark all your images? Automate it. This frees you up to focus on the fun, creative parts of editing.
Oh, and don’t forget about the power of shortcuts. Get to know your software’s hotkeys—seriously, they’re game-changers. You’ll be zipping through tasks faster than you can say “Ctrl+Z.”
Also, let’s talk storage. Organize your files like a boss. Use folders, subfolders, and clear naming conventions. You’ll save yourself from the nightmare of searching for that one photo in a sea of random file names.
Lastly, don’t be afraid to use some AI-powered tools. They can help with everything from noise reduction to enhancing details, making your edits quicker and more effective.
Using Tools to Save Time
You know those days when you wish you had an extra pair of hands? Well, technology is here to grant that wish, sort of.
First off, if you’re not using editing software that offers batch processing, you’re missing out. Think of it like having a magic wand that lets you edit one photo and then zap those edits onto all your other photos. It’s a total game-changer.
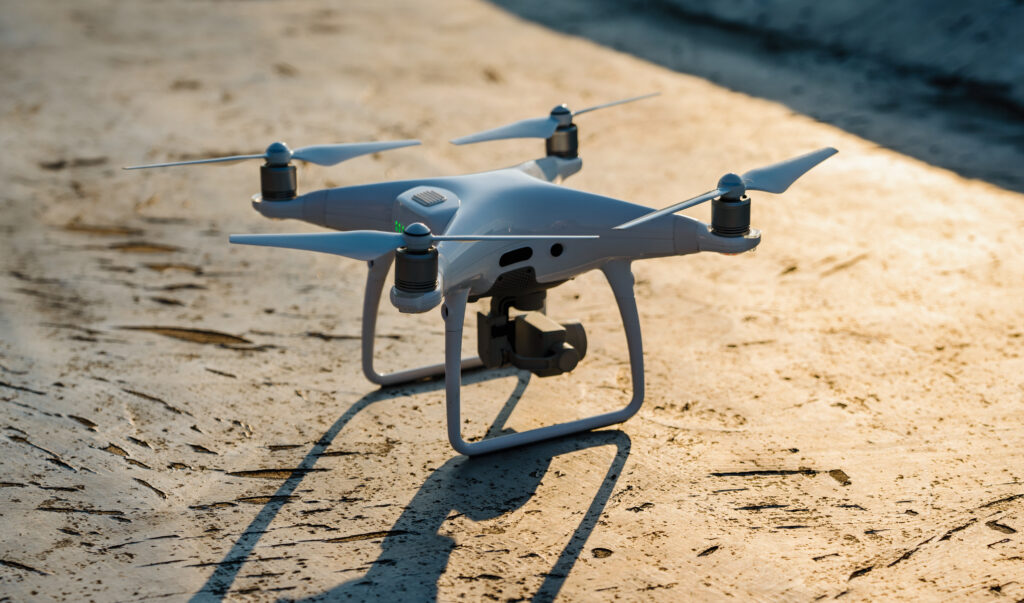
Ever heard of a drone? Those nifty little flying cameras can get you jaw-dropping aerial shots that would otherwise be impossible. Imagine impressing your clients with a stunning bird’s-eye view of their property. Talk about upping your game!
Now, if you’re the kind of person who constantly has to adjust your camera settings, consider a remote control. It lets you make adjustments without running back and forth like a headless chicken. Super handy, especially for those wide or tricky shots.
Also, check out apps that can turn your smartphone into a second monitor. It’s like having a sidekick that helps you nail the perfect frame without squinting at your camera’s tiny screen.
So, go ahead, embrace these tools, and watch your workflow speed up like never before.
Prepping for Your Photo Shoot
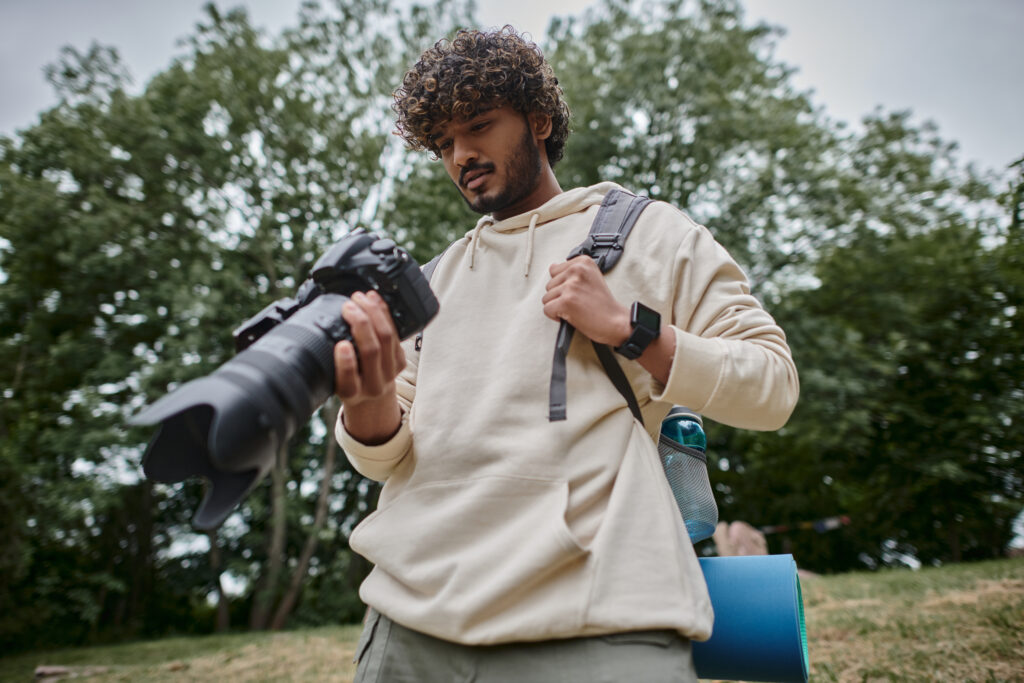
First off, scout the location ahead of time. It’s like doing homework, but way cooler. By checking out the spot beforehand, you can scope out the best angles, figure out where the light hits just right, and avoid any weird surprises. Trust me, a little legwork now saves you a ton of scrambling later.
Next, create a shot list. Think of it as your game plan. List out all the must-have shots so you’re not standing around wondering what to do next. It’s like having a grocery list when you’re starving—you stay focused and don’t forget anything important.
And hey, communicate with your client before the shoot. Ask them if there are specific features they want highlighted. Nothing’s worse than missing that one crucial shot because you didn’t ask the right questions.
So, do a little homework, plan your shots, and chat with your client. It’s all about making the actual shoot as smooth as possible so you can focus on capturing those killer images.
Selling a property? Give us a call today and learn more about our professional photography services that can boost your property listing!
Also, explore our sister company for exclusive luxury listings you won’t want to miss. Don’t forget to tune into our new podcast for even more valuable insights!