The Power of a Tidy Home: Elevating Your Real Estate Photography Game
Having a tidy home is essential for creating great real estate photography.
A clean and well-maintained house can instantly elevate the quality of your photos, making them more inviting and attractive to potential buyers.
In this blog post, we’ll explore the power of a tidy home and how it can help you take your real estate photography game to the next level. Let’s dive in!
The Importance of Cleaning and Decluttering
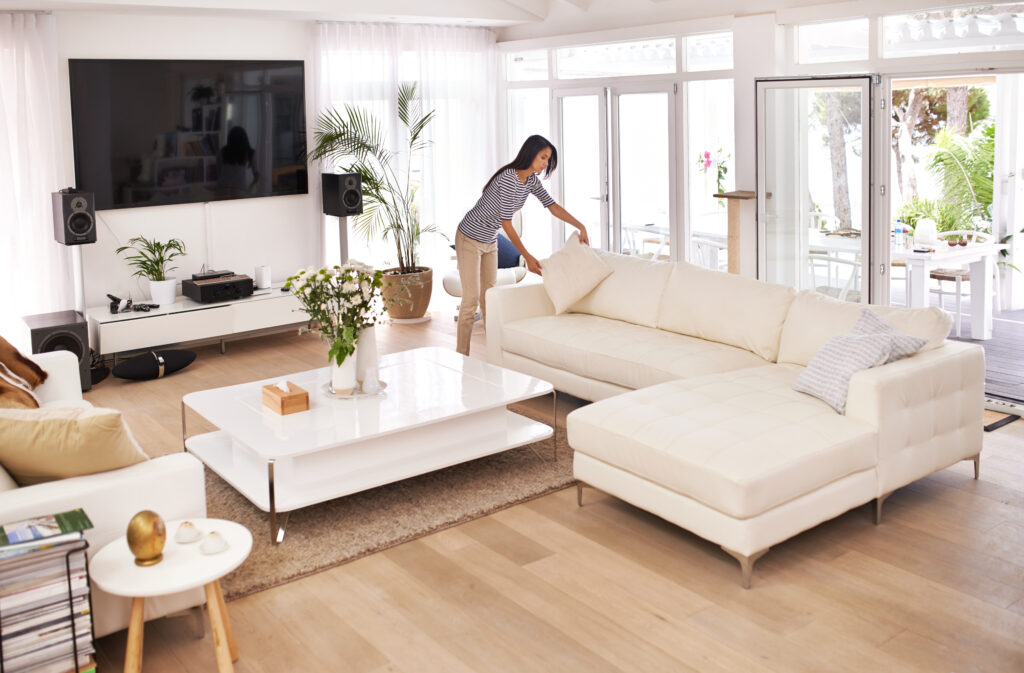
A clean and clutter-free home is the foundation of great real estate photography.
It may seem obvious, but many people underestimate the impact that cleaning and decluttering can have on the overall quality of their property photos. When potential buyers see a clean and well-maintained space, they can envision themselves living in the home and imagine their own belongings in the space.
Cleaning and decluttering also help to highlight the best features of your property. By removing unnecessary items and organizing the space, you create a sense of spaciousness and allow the true beauty of the home to shine through. Additionally, a clean environment translates to a more professional and trustworthy image, which can attract serious buyers who are willing to pay a higher price.
In order to effectively clean and declutter before a photo shoot, it’s important to start with a plan. Make a checklist of tasks, focusing on areas that are likely to appear in your photos. This may include decluttering countertops, organizing closets, and ensuring that all surfaces are dust-free.
Taking the time to clean and declutter before a photo shoot can make a world of difference in the quality of your real estate photography and ultimately attract more interested buyers.
Tips for Cleaning and Decluttering Before a Photo Shoot
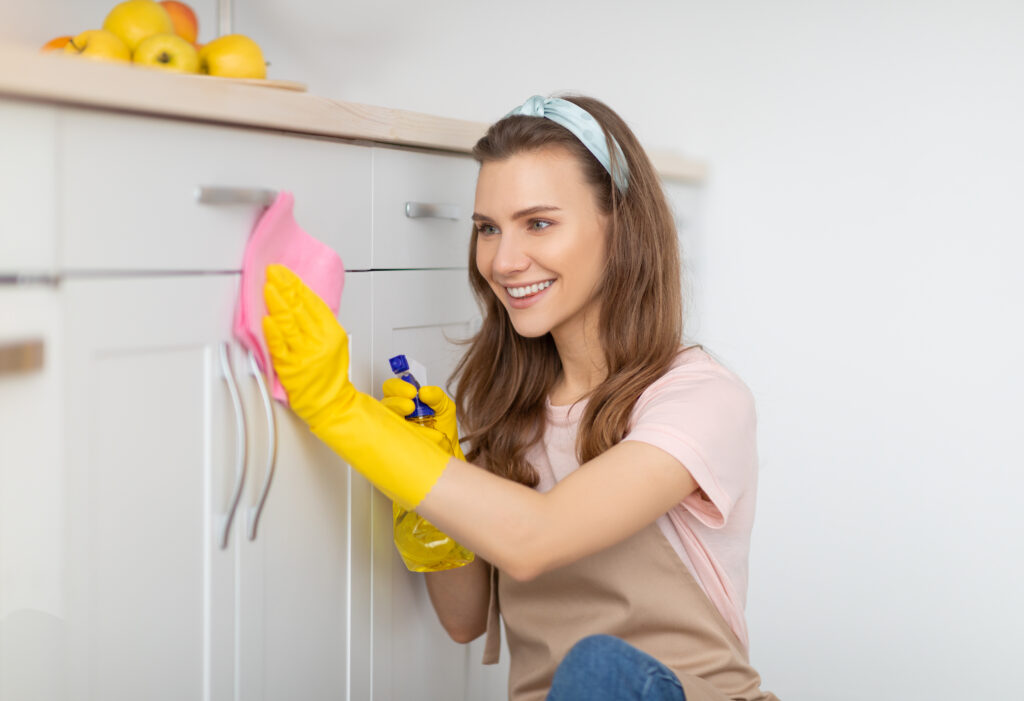
Preparing your home for a real estate photo shoot involves more than just a quick tidy-up. To ensure your photos are of the highest quality, it’s important to clean and declutter your space thoroughly.
Here are some tips to help you get your home ready for its close-up:
- Start with a plan – Make a checklist of cleaning and decluttering tasks, focusing on areas that are likely to appear in your photos. This may include tidying up countertops, organizing closets, and ensuring all surfaces are dust-free.
- Remove personal items – Clear out personal photos, knick-knacks, and other items that could distract potential buyers. The goal is to create a neutral and inviting space that allows buyers to envision themselves living there.
- Minimize furniture – Too much furniture can make a space appear cluttered and small in photos. Remove any unnecessary furniture to create a more spacious and open feel.
- Clean thoroughly – Give your home a deep clean, paying attention to details such as windows, floors, and fixtures. A clean and well-maintained environment will make a lasting impression on potential buyers.
- Don’t forget the exterior – Spruce up your home’s exterior by tidying the yard, trimming shrubs, and removing any visible clutter. The first impression starts at the curb, so make it a good one.
By following these tips, you’ll ensure that your real estate photos showcase your home in the best possible light. Remember, a clean and clutter-free space will make a significant difference in attracting interested buyers and ultimately selling your property faster.
Maximizing Natural Light in Your Home
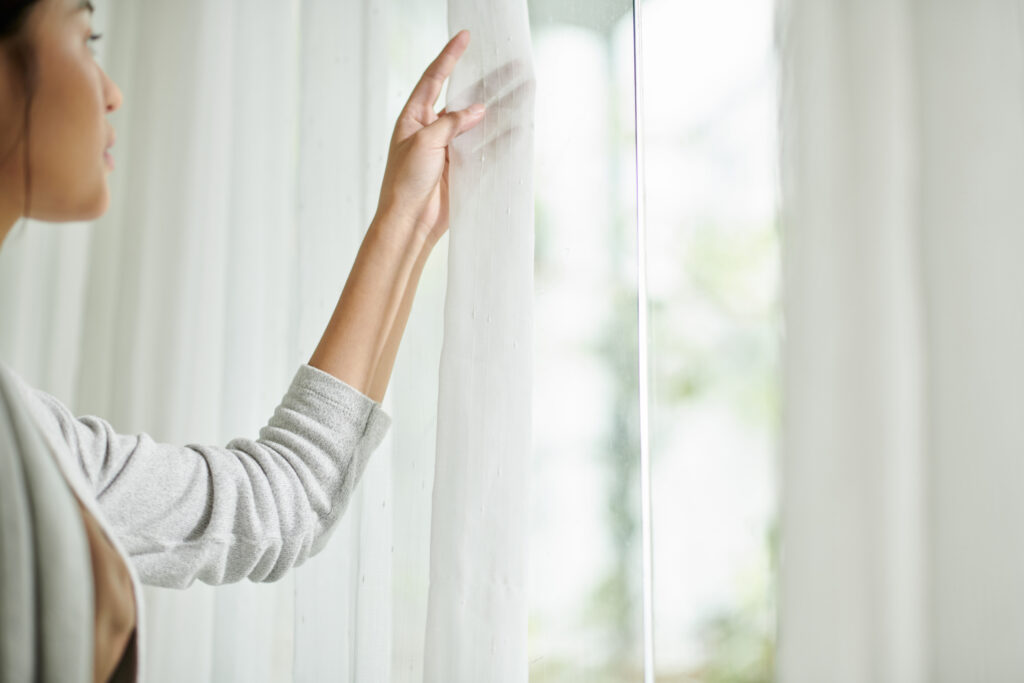
One of the most important factors in creating stunning real estate photography is maximizing natural light in your home. Natural light has a way of making spaces feel bright, airy, and inviting, which is exactly what potential buyers are looking for.
Here are some tips for maximizing the natural light in your home to capture the best possible photos:
- Open up your curtains and blinds – Letting in as much natural light as possible is crucial. Open up your curtains and blinds to let the light flood into your space. This will not only brighten up your rooms but also create a warm and welcoming atmosphere.
- Clean your windows – Dirty windows can obstruct the flow of natural light into your home. Take the time to clean your windows thoroughly before your photo shoot. This will ensure that the light is able to shine through and illuminate your space.
- Use light-colored furnishings and accessories – Light-colored furnishings and accessories can help reflect and amplify the natural light in your home. Choose furniture, rugs, and decor items in lighter shades to make the most of the available light.
- Avoid harsh artificial lighting – When taking real estate photos, it’s important to avoid harsh artificial lighting that can cast unflattering shadows. Instead, rely on natural light as much as possible and supplement with soft, diffused lighting if needed.
- Time your photo shoot – The time of day can greatly impact the quality of natural light in your home. Take photos during the golden hour, which is the hour after sunrise or before sunset, when the light is soft, warm, and perfect for capturing beautiful shots.
By following these tips, you’ll be able to maximize the natural light in your home and create real estate photography that is bright, inviting, and appealing to potential buyers.
The Role of Staging in Real Estate Photography
The role of staging in real estate photography is often underestimated, but it can make a huge difference in the final outcome of your photos.
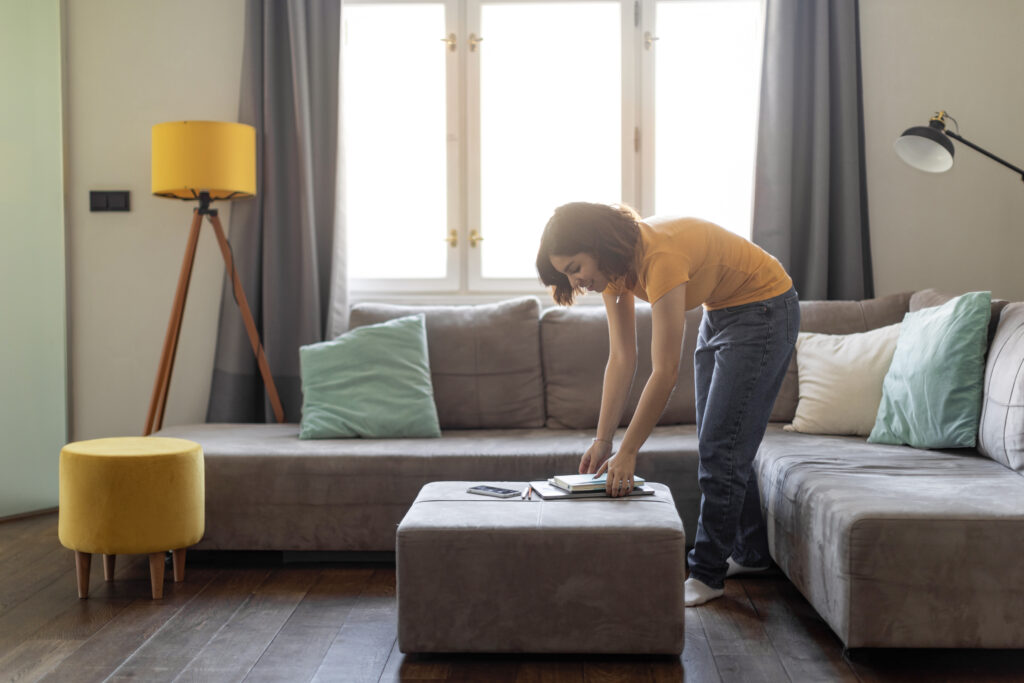
Staging is the art of arranging furniture, decor, and other elements in a way that showcases the potential of a space and helps buyers envision themselves living there. It involves creating a warm and inviting atmosphere that highlights the best features of a property.
By strategically placing furniture, adding stylish accessories, and creating a sense of flow and purpose in each room, staging can transform an empty or lackluster space into a visually appealing and desirable home. It helps potential buyers imagine themselves living in the property and can make them more likely to make an offer.
When staging, it’s important to strike the right balance between showcasing the space and not overpowering it with too much furniture or personal items. The goal is to create a neutral and inviting environment that appeals to a wide range of potential buyers.
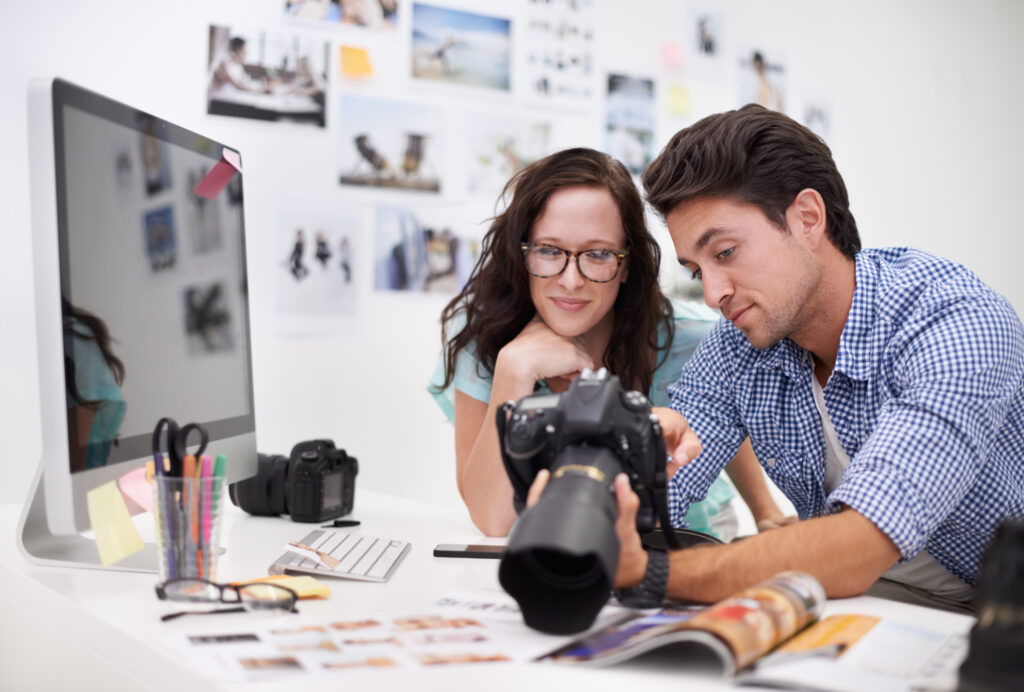
Editing Your Photos for the Best Results
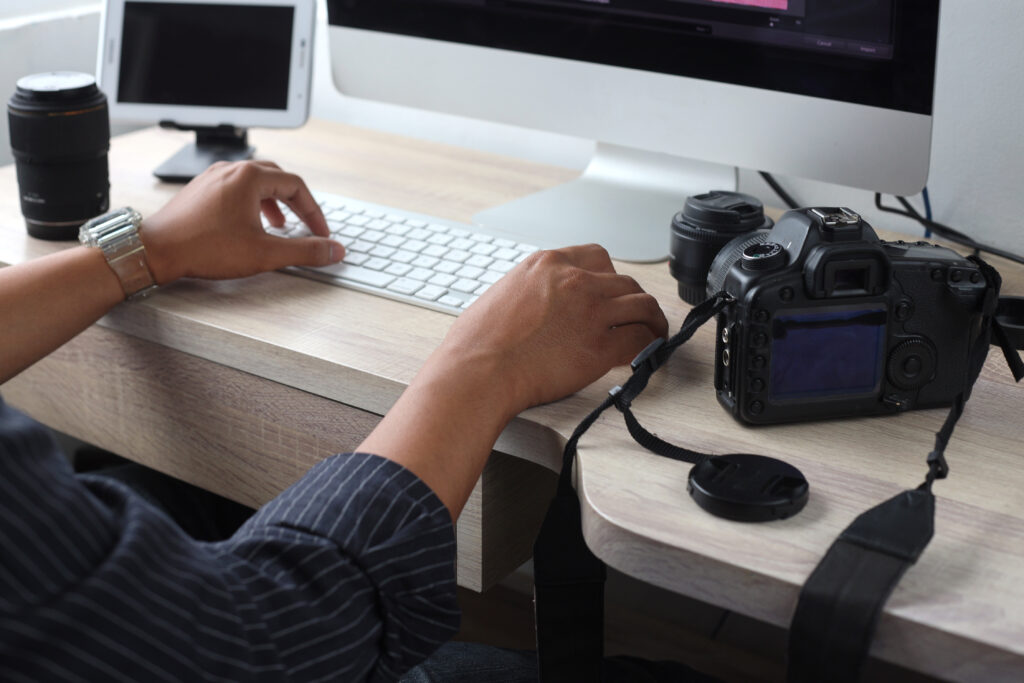
Once you’ve taken your real estate photos, the next step is to edit them to ensure they look their absolute best. Editing can make a significant difference in the final outcome of your photos, enhancing their visual appeal and making your property shine.
Here are some tips for editing your real estate photos for the best results:
- Adjust the exposure – Sometimes, photos can appear too bright or too dark due to lighting conditions. Adjusting the exposure can help balance the lighting and make your photos look more natural and inviting.
- Enhance colors and contrast – Playing with the saturation and contrast settings can make your photos look more vibrant and eye-catching. Be careful not to overdo it, as you want the colors to look realistic and true to life.
- Straighten and crop – Make sure your photos are level and straight by using the straightening tool. Cropping can also help remove any distracting elements and focus the viewer’s attention on the main features of the property.
- Remove blemishes and distractions – Use the clone stamp or healing brush tool to remove any blemishes or distractions in your photos, such as power lines or visible flaws in the property.
- Consider virtual staging – If you’re showcasing an empty space, virtual staging can be a great way to help potential buyers visualize the possibilities of the property. Adding furniture and decor virtually can make the space look more inviting and appealing.
Editing your real estate photos can take them from good to great. By adjusting the exposure, enhancing colors, straightening and cropping, removing distractions, and considering virtual staging, you can ensure your photos capture the true beauty and potential of your property.
Choosing the Right Shots to Highlight Your Property’s Features
Choosing the right shots is crucial when it comes to highlighting your property’s features in real estate photography. The goal is to capture the essence and unique selling points of your home in a way that is visually appealing and informative to potential buyers.
Start by focusing on the key areas that make your property stand out. Is it a spacious living room with high ceilings? A stunning kitchen with state-of-the-art appliances? A luxurious master bedroom with panoramic views? Identify these standout features and make sure to showcase them in your photos.
When framing your shots, consider the composition and angles. Shoot from different perspectives to find the most flattering angles that best represent the space. Capture wide shots to give viewers a sense of the overall layout, and also include close-up shots to highlight the finer details and finishes.
It’s also important to capture the flow of the space. If there are multiple connected rooms, consider taking photos that show the seamless transition from one room to another. This will give potential buyers a sense of the overall layout and how the space can be utilized.
Lastly, don’t forget about the exterior of the property. Capture shots that showcase the curb appeal, landscaping, and any outdoor features such as a pool or patio area. These exterior shots can greatly enhance the overall impression of the property.
Ready to sell your property? Give us a call today and learn more about our professional photography services and marketing that can boost your property listing!
Plus, explore our virtual assistant coaching program to level up your business. Don’t forget to tune into our new podcast for even more valuable insights!